


Quick Answer

A travel itinerary template is a simple, reusable plan for a trip. It lays out where you are going, where you are staying, how you are getting around, and what you plan to do each day, all in one place.
The best templates are short enough to use on the move and detailed enough to prevent mistakes. A good starting point is one line for each day with the date, the place, the main activity, transport, and where you are sleeping that night. Everything else — bookings, addresses, opening hours, and backup options — can sit underneath those lines.
If you only take one idea from this guide, take this one: plan the skeleton first, then fill in the details. Decide your arrival and departure days, your bases, and the one or two things you most want to do in each place. Once that structure is fixed, the rest of the planning becomes much easier, and you are far less likely to book a hotel in the wrong city or leave too little time for a transfer.
This guide explains what to include, gives you a day-by-day structure you can reuse, walks through a worked five-day city trip, and ends with a copy-ready template, planning tips, common mistakes, and answers to the questions travellers ask most often.
What Is a Travel Itinerary Template?
A travel itinerary template is a blank version of a trip plan. Instead of starting from an empty page every time you travel, you start from a proven structure and replace the details with your own destinations, dates, and bookings.
It is not a minute-by-minute schedule. It is a framework. Think of it as the difference between a map and a timetable. A map shows you where things are and how they connect. A timetable tells you exactly when to be somewhere. Most travellers need the map first, with a few fixed times added only where they matter, such as flights, check-in times, guided tours, and restaurant reservations.
A useful template works for many kinds of trips. The same basic structure can cover a weekend city break, a week of sightseeing, a road trip, or a longer multi-stop journey. What changes is the number of days, the number of bases, and the amount of detail in each day.
Templates also make travel easier to share. If you are travelling with family or friends, one clear document prevents the usual confusion about who booked what, where you are meeting, and what time you need to leave. If someone else needs to help in an emergency, they can see your plan at a glance.
Why Use One Instead of Just Winging It?
Travelling without any plan can be enjoyable, especially for a short trip to a familiar place. But for most trips, a light plan saves time, money, and stress.
First, it helps you spot problems early. You might notice that you have planned a morning museum visit on the one day it is closed, or that your train arrives after your hotel check-in desk closes. Finding those problems at home is far better than finding them at a station late at night.
Second, it helps you balance your days. Without a plan, it is easy to pack three major sights into one day and leave another day almost empty. A template makes that imbalance visible before you leave.
Third, it protects the parts of the trip that matter most. If you write down the one experience you do not want to miss in each place, you can build the day around it instead of discovering too late that tickets sold out or the journey took longer than expected.
Finally, it reduces decision fatigue. Travel involves hundreds of small decisions. A template answers the big ones in advance — where you are staying, how you are moving, and what you are doing each day — so you can spend your energy enjoying the trip rather than constantly working out logistics.
What to Include in a Travel Itinerary Template
A complete template does not need to be long, but it does need to cover the essentials. The sections below are the ones worth including every time.
1. Trip Overview
Start with the basics at the top of the page:
- Trip name and destination
- Travel dates, including arrival and departure days
- Travellers and their contact details
- Time zone and any important local information, such as public holidays
- Emergency numbers and the address of your accommodation
This section is especially useful if you print the itinerary or share it with someone at home. In an emergency, the key facts are right at the top.
2. Transport
List every major journey, not just flights. Include:
- Flight, train, bus, or ferry details, with times and booking references
- Transfers between airports, stations, and hotels
- Car hire pick-up and drop-off details, if relevant
- Local transport passes or cards you plan to use
For each journey, note the departure point, arrival point, and how long it should take. Add a buffer for delays, especially on arrival days and on the day you travel home.
3. Accommodation
For each stay, record:
- Hotel, apartment, or hostel name and address
- Check-in and check-out times
- Booking reference and contact number
- What is included, such as breakfast or parking
If you are changing accommodation mid-trip, make the switch day obvious in the day-by-day plan. Many travel mistakes happen on transfer days, when bags, check-out times, and onward journeys all collide.
4. Day-by-Day Plan
This is the heart of the template. For each day, include:
- Date and day of the week
- Location or base for that day
- Morning, afternoon, and evening plans, kept brief
- Transport between places
- Where you are sleeping that night
- Any bookings, tickets, or reservations
Keep each day to a few lines. If a day needs more detail — for example, a guided tour with a meeting point — add it as a note underneath rather than crowding the main line.
5. Bookings and Tickets
Keep a separate checklist of everything you have booked, with confirmation numbers. This includes flights, accommodation, tours, museum tickets, and restaurant reservations. It is much easier to check one list than to search through emails while standing in a queue.
6. Budget Notes
You do not need a full spreadsheet in your itinerary, but a rough daily budget helps. Note the main costs you have already paid, such as flights and hotels, and estimate daily spending on food, transport, and activities. This makes it easier to see whether a trip is realistic before you commit.
7. Packing and Practical Notes
Add a short section for anything specific to the trip: documents you need, adapters, medicines, weather expectations, dress codes for particular sights, and anything you need to buy before you leave. Keeping these notes with the itinerary means they are less likely to be forgotten.
Day-by-Day Template Structure
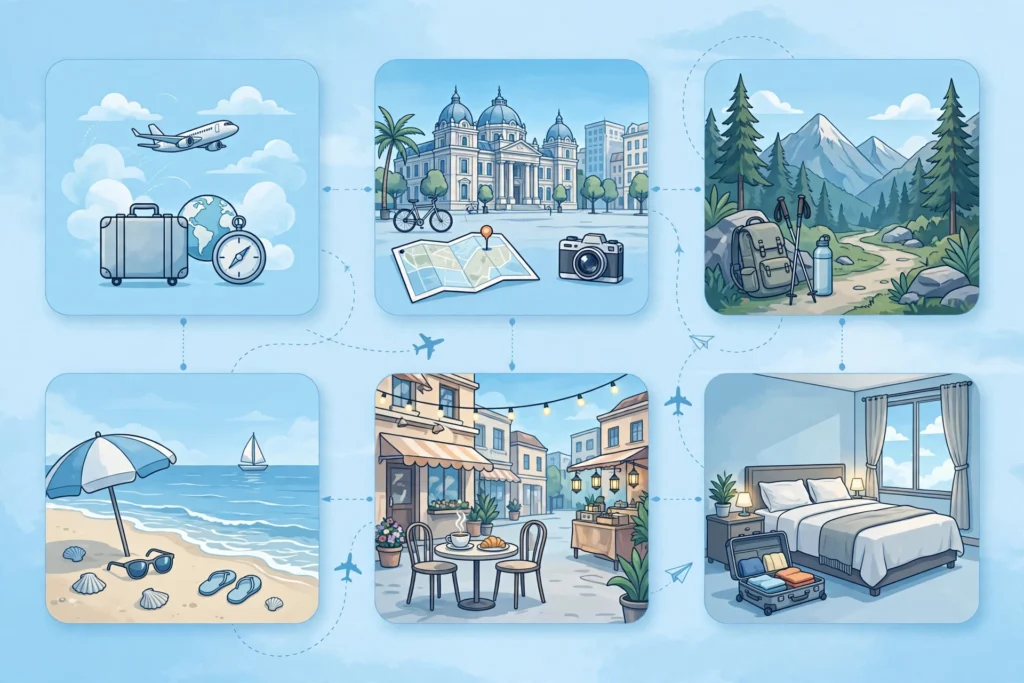
The simplest structure that works well is one row per day, with the same columns every time. Consistency is what makes a template easy to scan.
Use these headings for each day:
- Day and date
- Location
- Morning
- Afternoon
- Evening
- Transport
- Stay
Here is how that looks in practice:
| Day | Location | Morning | Afternoon | Evening | Transport | Stay |
|---|---|---|---|---|---|---|
| Day 1 | Arrival city | Arrive and check in | Gentle walk and orientation | Dinner near hotel | Airport transfer | Hotel A |
| Day 2 | Arrival city | Main sight | Neighbourhood and market | Free evening | Walking / metro | Hotel A |
| Day 3 | Second city | Travel to second city | Old town and viewpoints | Local restaurant | Train | Hotel B |
You can adapt this to your style. Some travellers prefer separate morning, afternoon, and evening columns. Others prefer a single “Plan” column with a short bullet list. Either approach works, as long as you use it consistently.
A few rules make the day-by-day plan stronger:
- Put only one major sight or activity in the morning and one in the afternoon. Two big attractions plus travel time is usually enough for a satisfying day.
- Leave one deliberately light day in a trip of five days or more. It gives you room for weather changes, tiredness, or a place you discover and want to revisit.
- Mark anything that must happen at a fixed time in bold or with a time next to it. Everything else can stay flexible.
- Always end the day with where you sleep. It sounds obvious, but it prevents the classic error of planning a late evening in one city and a morning departure from another.
A One-Day Template You Can Reuse
If you want an even simpler version for each day, use this outline:
- Date and place: [Day, date, city]
- Sleeping: [Hotel and area]
- Must do today: [One main activity]
- Morning: [Plan]
- Afternoon: [Plan]
- Evening: [Plan]
- Getting around: [Transport]
- Booked: [Tickets or reservations]
- Notes: [Opening hours, meeting points, backup plan]
Copy that block for each day of the trip, then fill it in. It takes only a few minutes per day, and the result is easy to read on a phone.
A Worked Example: A 5-Day City Trip

The example below shows how the template works for a five-day city trip with one base. It is deliberately realistic: one main activity per half-day, time for meals and walking, and a slower day in the middle.
Day 1: Arrival and Orientation
Arrive in the morning or early afternoon if possible, so you have time to settle in before evening. Check in, drop your bags, and take a short walk around your hotel neighbourhood to find a supermarket, a pharmacy, and a good place for dinner.
In the evening, keep it light. A walk along a main street or riverside, followed by dinner near your hotel, is a good first day. Avoid planning a major sight on arrival day, especially after a long journey.
- Transport: Airport transfer to hotel
- Stay: Hotel in the city centre
- Booked: Airport transfer, hotel
Day 2: The Main Sights
This is a good day for the city’s most famous attraction, ideally in the morning when you have the most energy and crowds are often smaller. Book tickets in advance if the attraction is popular.
In the afternoon, explore the surrounding area on foot. Look for a market, a park, or a historic street nearby rather than rushing across the city to a second major sight. In the evening, try a restaurant in a different neighbourhood.
- Transport: Walking and metro
- Stay: Same hotel
- Booked: Morning attraction tickets
Day 3: Neighbourhoods and Local Life
Dedicate this day to the city’s everyday character. Visit a residential neighbourhood, a local market, and a smaller museum or gallery. This is often the day travellers remember most, because it feels less like ticking off sights and more like understanding the place.
Keep the pace relaxed. Stop for coffee, sit in a park, and leave time for unplanned discoveries. If you have a food market or cooking class on your list, this is a good day for it.
- Transport: Walking and local bus or tram
- Stay: Same hotel
- Booked: Any food tour or class
Day 4: Day Trip or Deeper Exploration
Day four works well for a half-day trip to a nearby town, village, or natural spot, returning to your base in the evening. Alternatively, use it to revisit a favourite area, explore a district you missed, or visit a second major attraction.
Check transport times the night before. Day trips fail most often because travellers underestimate the journey or miss the last return service. Note both the outward and return times in your itinerary.
- Transport: Train or bus for the day trip
- Stay: Same hotel
- Booked: Day trip transport, if tickets are needed
Day 5: Final Morning and Departure
On departure day, plan only a short morning activity near your hotel, such as a final walk, a market visit, or a relaxed breakfast. Leave plenty of time to pack, check out, and reach the airport or station.
Write your departure time and transfer details clearly in the itinerary. It is worth setting a “leave hotel by” time the night before, so there is no last-minute rush.
- Transport: Transfer to airport or station
- Stay: None — departure day
- Booked: Departure transport
This five-day pattern — arrive gently, see the highlights, explore local life, take a deeper day, and leave calmly — works for many cities. You can stretch it to seven days by adding another neighbourhood day and another day trip, or shorten it to three days by combining days two and three.
A Copy-Ready Travel Itinerary Template
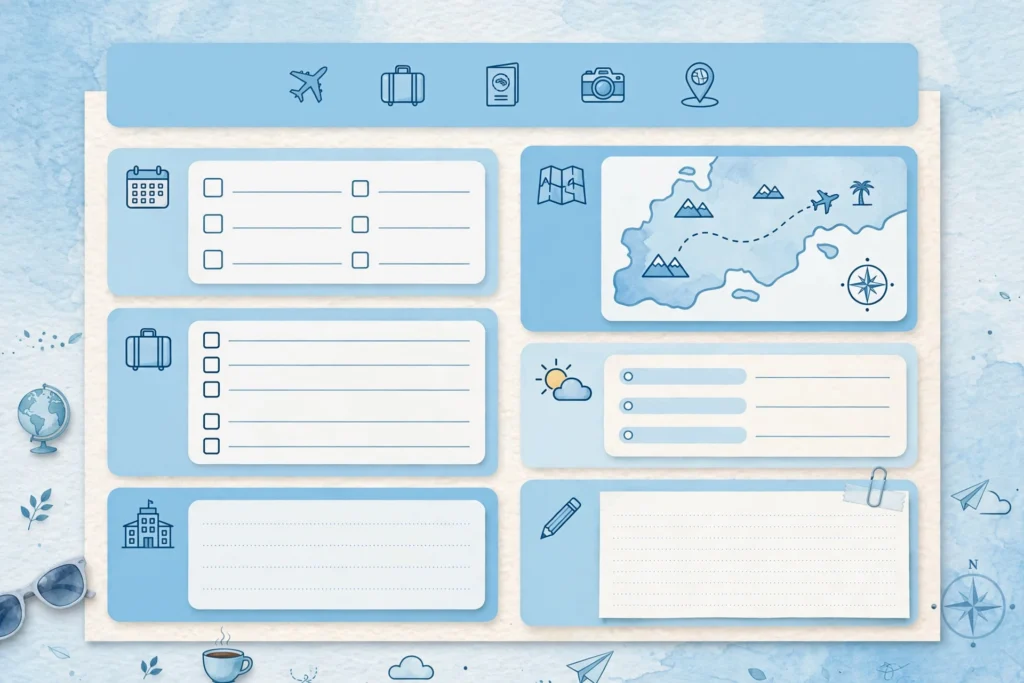
Below is a simple template you can copy into a document, notes app, or spreadsheet and fill in for your next trip.
Trip overview
- Destination:
- Dates:
- Travellers:
- Home base or bases:
- Emergency contact:
Transport summary
- Outward journey:
- Return journey:
- Main transfers:
- Local transport:
Accommodation summary
- Stay 1 — name, address, dates, booking reference:
- Stay 2 — name, address, dates, booking reference:
Day-by-day plan
| Day | Date | Location | Morning | Afternoon | Evening | Transport | Stay |
|---|---|---|---|---|---|---|---|
| 1 | |||||||
| 2 | |||||||
| 3 | |||||||
| 4 | |||||||
| 5 | |||||||
| 6 | |||||||
| 7 |
Bookings checklist
- Flights:
- Accommodation:
- Tours and tickets:
- Restaurants:
- Transport passes:
Budget notes
- Already paid:
- Estimated daily spending:
- Total estimated trip cost:
Packing and practical notes
- Documents needed:
- Things to buy before departure:
- Weather and clothing notes:
- Other reminders:
Add or remove rows as needed. The goal is a document you will actually use, not a document that looks impressive but is too complicated to update on the road.
Adapting the Template for Different Trip Types
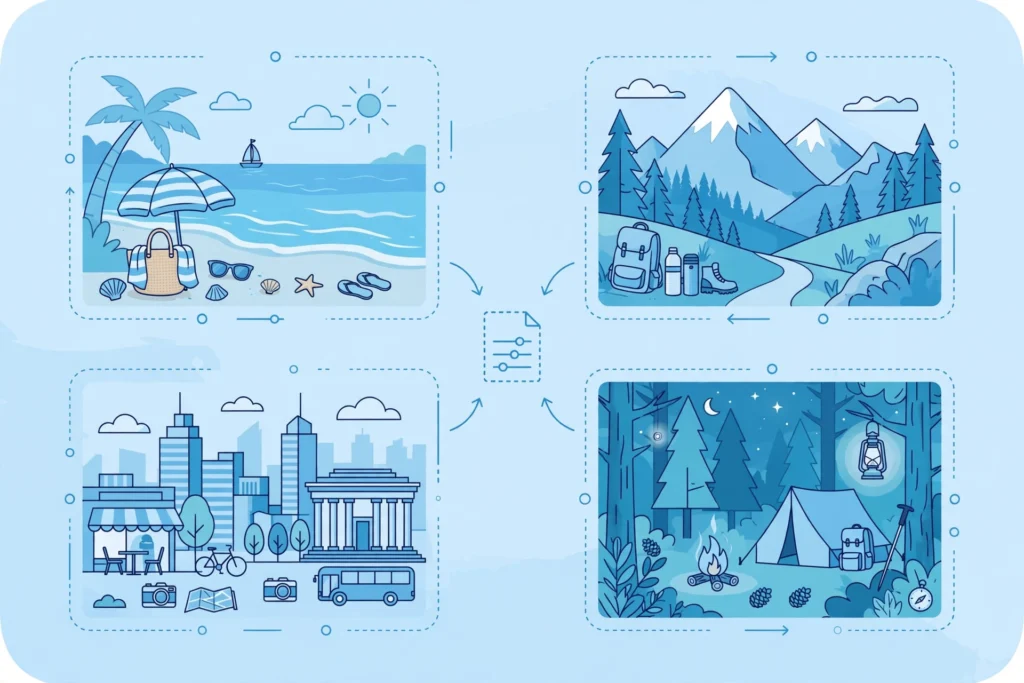
The same skeleton works for most trips, but a few adjustments make it fit each type much better.
Weekend city break. Keep it to two or three days, one base, and one highlight per half-day. Do not try to cover a whole city in a weekend — pick the sights that matter most and leave the rest for a return visit.
Road trip. Add driving distance and estimated driving time for each day, plus fuel stops and overnight stops. A day that looks short on a map can become long once you add stops, roadworks and rest breaks, so keep daily driving realistic and never plan a long drive after a full sightseeing day.
Multi-city trip. Give each city its own base block, and keep transfer days light — packing, check-out, travel to the station or airport, and check-in already fill most of the day. Note the transport between cities in the overview, not just in the day rows, so a missed connection is easy to spot.
Family or group trip. Add a column for who is doing what, especially where the group splits — for example, one group at a museum while another rests. Also note meeting points and times clearly, and share the master copy with everyone before departure so nobody is working from an old version.
Slow travel. For stays of two weeks or more in one place, use a weekly template instead of a daily one: one row per week for bases and big activities, with daily detail only for excursion days. This keeps a long trip readable instead of turning it into a 30-row spreadsheet nobody updates.
Printable and Planning Tips

A template is only useful if you can use it during the trip. These tips help.
Keep one master copy. Use one document as the source of truth, whether it is a printed sheet, a notes app, or a spreadsheet. Avoid keeping different versions in different places, because they will drift apart and you will not know which one is correct.
Print a backup. Phones run out of battery, lose signal, or break. A printed copy of the overview, day-by-day plan, and accommodation addresses is a cheap safety net. Keep it separate from your phone, for example in a different bag.
Save offline maps. Download offline maps for each destination before you leave. Mark your hotel, station, and main sights. This makes the itinerary much easier to follow when you have no mobile data.
Share it with someone at home. Send a copy to a trusted person. It is useful in an emergency, and it means someone else knows where you are supposed to be each day.
Use times only where they matter. Do not turn the whole trip into a timetable. Add exact times for flights, check-ins, tours, and reservations, and leave the rest as morning, afternoon, and evening. This keeps the plan flexible without losing the fixed points.
Update it each evening. Spend five minutes each night checking the next day: opening hours, transport times, weather, and anything you need to book. Small nightly updates prevent most next-day problems.
Build in buffers. Add extra time around flights, train changes, and check-outs. Travel rarely goes exactly to plan, and a buffer turns a delay into an inconvenience rather than a missed connection.
Common Mistakes to Avoid

Even experienced travellers make the same itinerary mistakes. Watch out for these.
Packing too much into each day. Three major sights, a day trip, and a long dinner rarely fit into one day. Choose one highlight per half-day and let the rest of the day breathe.
Forgetting to check opening days. Museums, markets, and attractions often close on a particular weekday, and hours can change seasonally. Check before you build the day around a visit, not after you arrive.
Planning a transfer day like a sightseeing day. Moving between cities takes longer than the journey itself once you add packing, check-out, transport to the station, and check-in. Keep transfer days light.
Booking accommodation in the wrong area. A hotel that looks central on a map can still be far from the sights you want to see or awkward to reach late at night. Check the neighbourhood and the nearest transport stop before booking.
Leaving no free time. A trip with no gaps feels like work. Leave space for rest, spontaneous finds, and bad weather. The best travel memories often come from unplanned hours.
Keeping bookings only in email. Search for a booking reference in a crowded inbox while standing at a counter is stressful. Copy references into your itinerary before you leave.
Copying someone else’s itinerary exactly. Another traveller’s pace, interests, and budget are different from yours. Use other itineraries as inspiration, then adjust the days, sights, and speed to fit you.
Tools and Apps for Itinerary Planning

You do not need a special app to use a travel itinerary template. A document, spreadsheet, or notes app is enough for most trips. That said, a few types of tools can help.
Documents and spreadsheets are best for a simple, shareable plan. They are easy to edit, easy to print, and work offline. A spreadsheet is particularly good for the day-by-day table, because you can sort and filter it.
Notes apps are useful if you want the itinerary on your phone and want to add photos, links, and checklists. Choose one that works offline, so you can read the plan without a connection.
Map apps help you check distances and walking times between sights. Use them during planning to see whether your day is realistic, not just to navigate once you arrive.
Booking apps are useful for storing confirmations, but they are not a replacement for an itinerary. They show what you booked, not how your days fit together. Copy the key details into your master plan.
Dedicated trip planners can be helpful for complex multi-stop trips, because they can pull bookings into a timeline automatically. They work best when you still review the result yourself and adjust anything that looks rushed or illogical.
Whatever tool you choose, keep the principle the same: one master plan, short daily entries, and fixed times only where they matter.
Frequently Asked Questions
How detailed should a travel itinerary be?
Detailed enough that you know where you need to be each day and what you have booked, but not so detailed that every hour is scheduled. As a rule, one main activity in the morning and one in the afternoon is a good level of detail, with exact times only for flights, check-ins, tours, and reservations.
How far in advance should I plan an itinerary?
For a simple city trip, a few weeks is usually enough. For a longer or more complex trip, or one that involves popular attractions, start earlier so you can book accommodation and tickets before they sell out. The itinerary itself can stay flexible until the main bookings are fixed.
Should I plan every meal?
No. It is worth noting one or two restaurants you really want to try, especially if they need a reservation, but planning every meal removes spontaneity and adds unnecessary work. Note a few options near your hotel and near your main sights, then decide on the day.
What if my plans change during the trip?
That is normal, and a good template makes changes easier, not harder. Because the plan is written down, you can see what moving one activity affects — for example, whether it clashes with a booking or a transfer day. Update the master copy when you change the plan, so you do not end up following an old version.
Is a travel itinerary template useful for a road trip?
Yes, with one adjustment: add driving distances and estimated driving times for each day, and note fuel stops and overnight stops. Road trips need more attention to daily distances, because a day that looks short on a map can become long once you add stops, roadworks, and rest breaks.
Can I use the same template for a family trip?
Yes. Add a column or note for anything family-specific, such as child-friendly activities, nap times for younger children, and any accessibility needs. The basic structure — overview, transport, accommodation, and day-by-day plan — stays exactly the same.
Conclusion
A good travel itinerary template does not take the adventure out of travel. It takes the avoidable stress out of it. By writing down your bases, your transport, your accommodation, and one main plan for each half-day, you give yourself a clear structure and plenty of room to enjoy the trip inside it.
Start with the skeleton: arrival day, departure day, and your main bases. Add one highlight per half-day. Check opening hours and transfer times. Keep bookings and addresses in one place. Then leave gaps for rest and discovery.
Copy the template in this guide, fill it in for your next trip, and adjust it until it matches how you like to travel. After one or two trips, you will have a version that feels personal — and planning the next journey will take far less time than the first one did.
People also read :
How to Prepare a Travel Budget That Actually Works (Without Guessing)


Other Articles


Travel Apps: The Only Apps You Actually Need for a Trip
3 Comments
Comments are closed.




[…] Once your daily figure is set, put it into a day-by-day plan with the Travel Itinerary Template. […]
[…] build your plan in a document or spreadsheet using a clear structure. If you prefer that route, a Travel Itinerary Template gives you a day-by-day outline you can reuse for any trip, with space for transport, stays, and […]
[…] mistake of fitting a summer itinerary into short winter days. For a ready-to-use structure, see Travel Itinerary Template, which you can adapt to any destination in this […]